- Details
- Category: Harpeth Hall High School Winterim Class
- Published: 17 January 2017
- Hits: 3250
This lecture discusses the examples of famous mathematical curves including epicycloid, epitrochoid, Lemniscate, Hypocycloid and Rose. This lecture is needed to provide examples for the robot to draw.
- Details
- Category: Harpeth Hall High School Winterim Class
- Published: 29 January 2016
- Hits: 2521
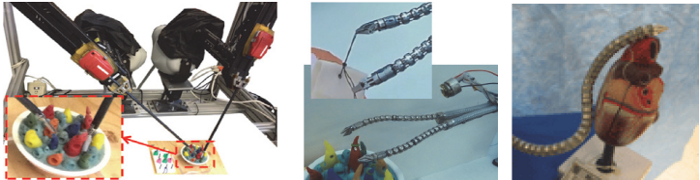
This lecture is an extension of the intro to robotics lecture focusing on medical applications of robotics in a variety of different fields. The lecture is split in 3 parts for size only - it can be given in a single lecture period (or, since it is rather long, split between a few class sessions).
- Details
- Category: Harpeth Hall High School Winterim Class
- Published: 27 January 2016
- Hits: 3095
The arduino microcontroller was used for this class for running a few experiments as well as acting as the controller for the 3-leg parallel robot assembled by the students. The software needed to connect to the arduino is available online at https://www.arduino.cc/ All students needed to download that software to run on their laptops at each lab station.
There are a number of different files used for both teaching the idea of using microcontrollers to the students as well as for running the parallel robot constructed in this class.
Most of the basic code used in instruction is based off of examples included with the arduino software - found under the examples toolbar. These files (blink, digitalreadserial, analogreadserial) are referenced in the arduino lecture notes as well as the course plan.
The rest of the files are included in the zipped folder below.
The first set of files are used for instruction/testing:
- VarBlink is an example to what students should be able to create during their introductory tutorials following the lecture notes.
- SingleServoControl allows for control of a single servo using a potentiometer. The wiring for this can be found on the wiring diagram page.
- TestJoystick allows for testing of the analog joysticks to make sure they have been plugged in correctly and soldered properly.
All the files starting with RRR_ are for controlling and calibrating the robot. Some of these are referenced in the robot construction guide as well with more detailed instructions for their use.
- RRR_microsecond_calibrate_pot is used to set the limits of the servos so that they can achieve maximum motion and have their zero and 180 degree limits set properly
- RRR_servo_control_pot is used to set the 90 degree position of the servos
- RRR_parallel_robot_go_to_home tells the robot to go to its home position
- RRR_circle_path makes the robot go in a circle
- RRR_epicycloid_path is similar to RRR_circle_path but makes a fancier epicycloidal path instead of a simple circle
- RRR_parallel_robot_roll_origin makes the robot spin from 30 degrees to negative 30 degrees while staying centered at the origin
- RRR_roll_about_origin_pot_control is similar to RRR_parallel_robot_roll_origin but lets the position of a pot move the robot instead of it moving on a timer
- RRR_Telemanipulation allows for control of the robot in the x-y plane by using the joystick. No rotation takes place.
See the wiring diagram page for details on how to hook up the arduino for these various different test codes.
- Details
- Category: Harpeth Hall High School Winterim Class
- Published: 27 January 2016
- Hits: 5195
This lecture discusses the "inverse kinematic" solution to the parallel robot constructed in the class. This means that, given a desired position of the triangular moving platform, what angle do the legs of the robot have to be positioned to? While involving some multi-step geometrical reasoning, the solution is mostly straightforward.
Most of the math reasoning required to follow this lecture is introduced in the math overview lecture.
- Details
- Category: Harpeth Hall High School Winterim Class
- Published: 27 January 2016
- Hits: 2683
This lecture goes into the math requirements for solving the inverse kinematics problem for the parallel robot constructed in this class.
The lecture introduces the ideas of sine, cosine, and tangent using triangles. These ideas are extended to include using sine and cosine for representing points in a coordinate system. The law of cosines is introduced because it is used in the next lecture on solving for the parallel robot inverse kinematics.
- You are here:
- Home

- High School Outreach
- Outreach
- Harpeth Hall High School Winterim Class